 CabinetsStart a free trial
Design a kitchen.
Keep every cabinet editable.
Use ML Cabinets to create and configure cabinets inside SketchUp. Build a cabinet run, test a different finish and refine the storage as the design develops.
Set the proportions for your layout.
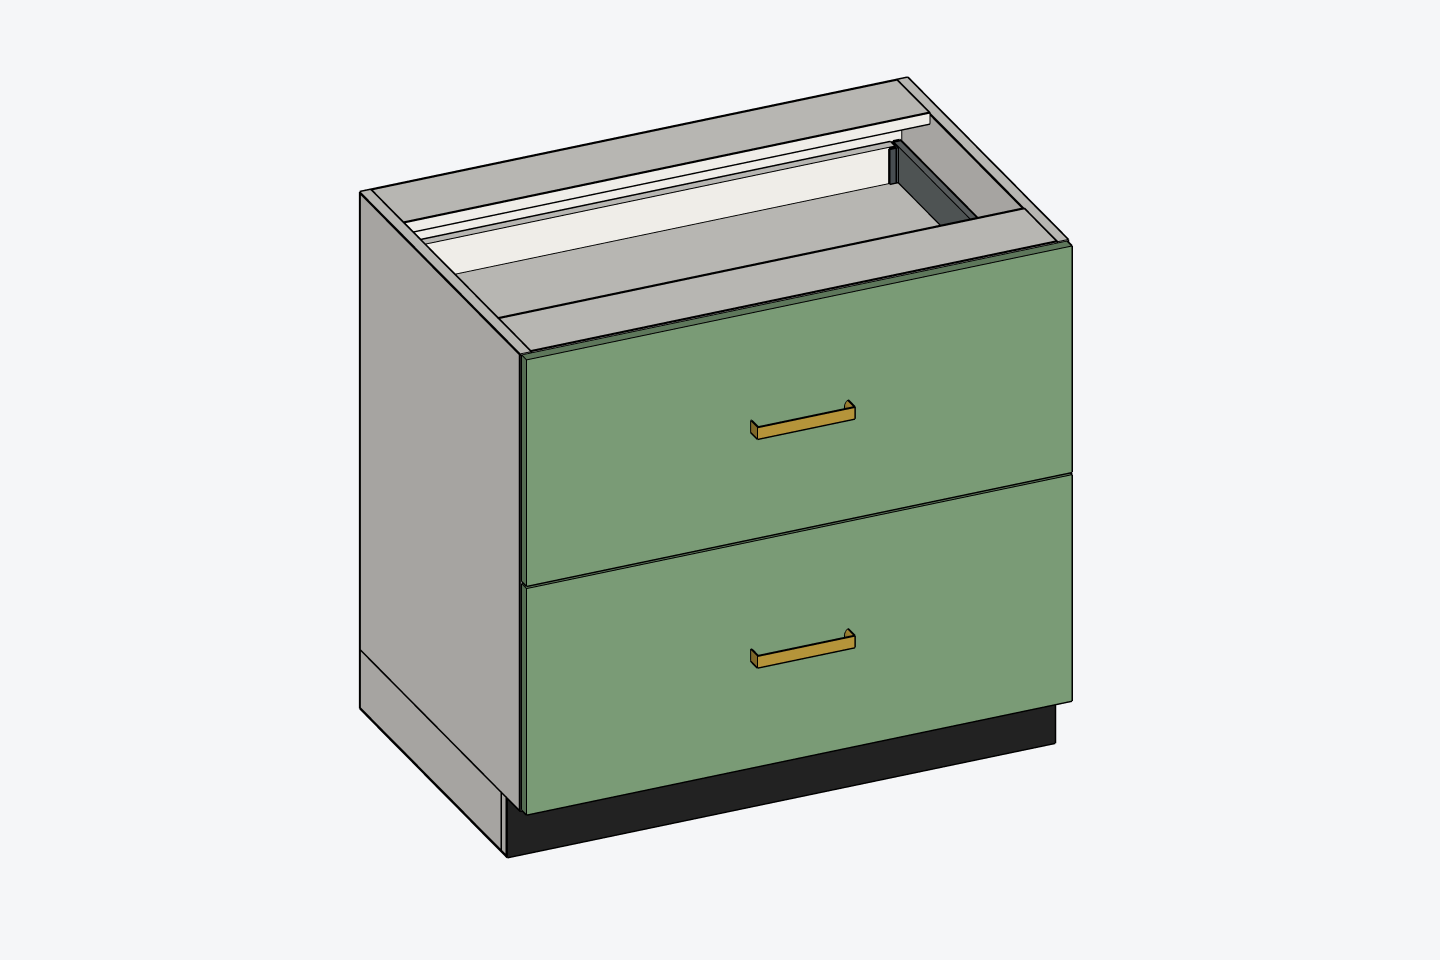
Use your SketchUp room model as the starting point. Create base, wall, tall or corner cabinets, set their dimensions and place them in the model. Each cabinet has its own configuration, so the run can combine different widths and storage layouts.
In General, set the dimensions in metric or imperial units. In Configuration, arrange groups and choose doors, drawers or shelves. Check the live preview before placing the cabinet.
 Enlarge
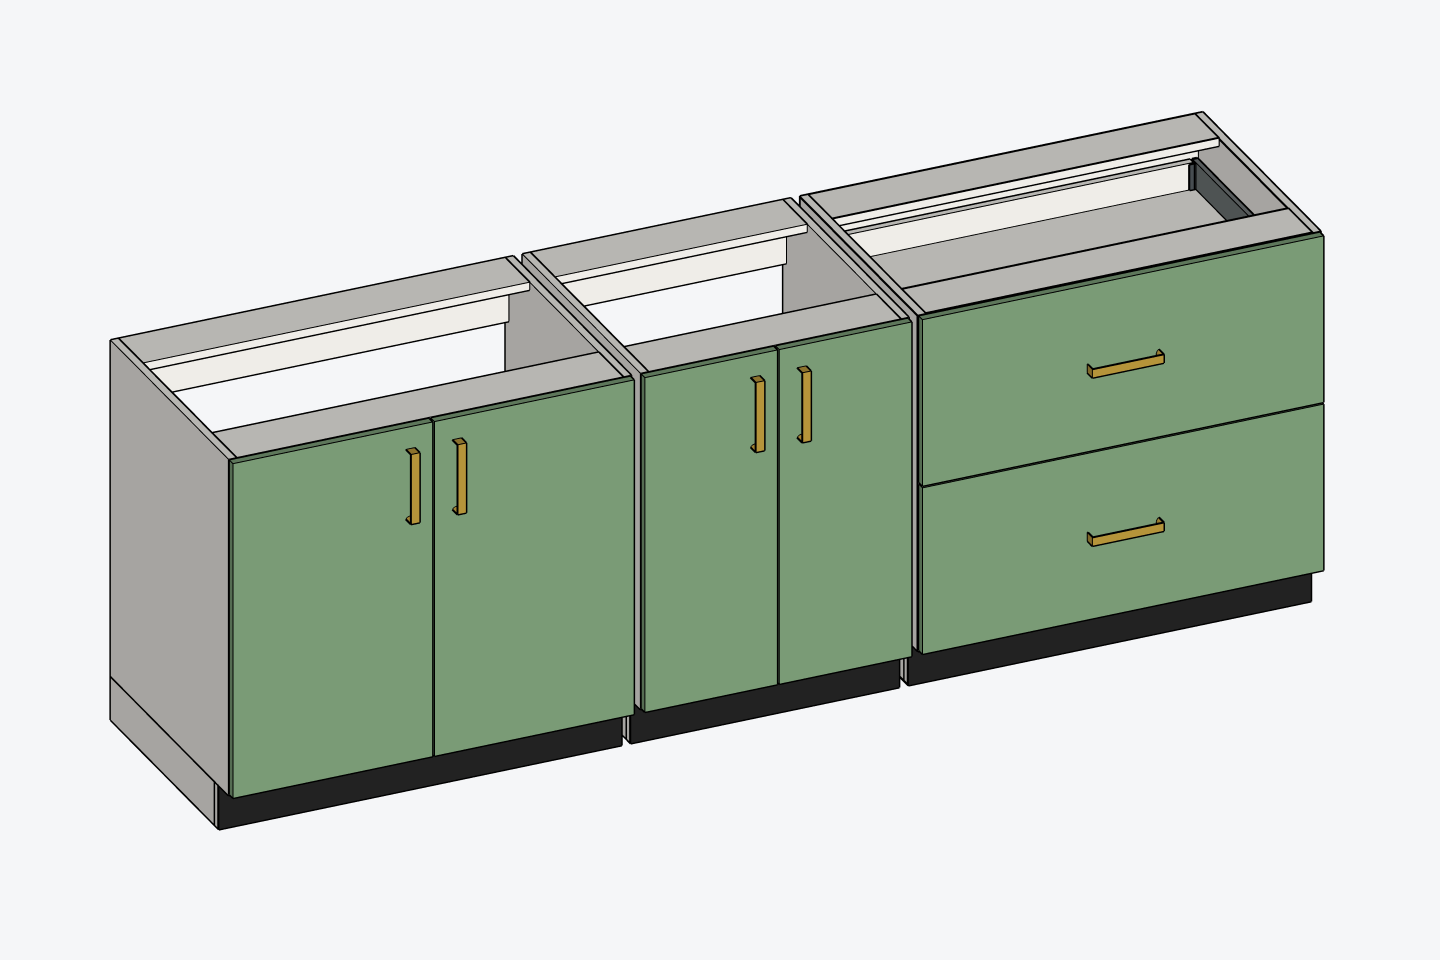
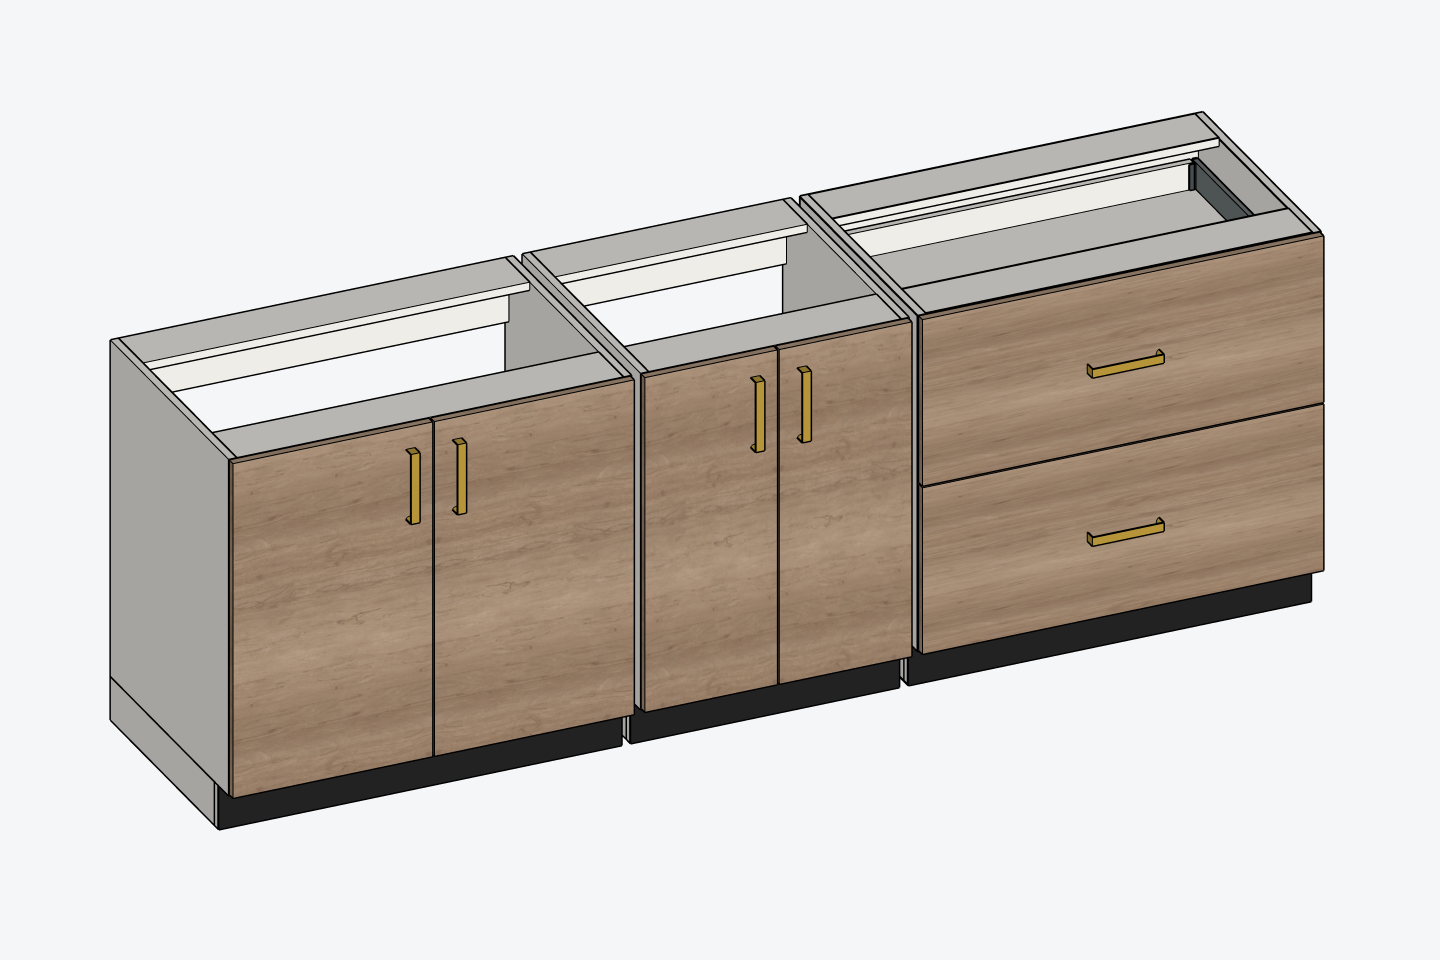
A new direction across the run.
When a client wants a different finish, use Style Picker to transfer selected properties. Choose the front materials to transfer while retaining the cabinets’ dimensions and opening layouts. Carcass finishes can remain independent.
Design the inside as carefully as the outside.
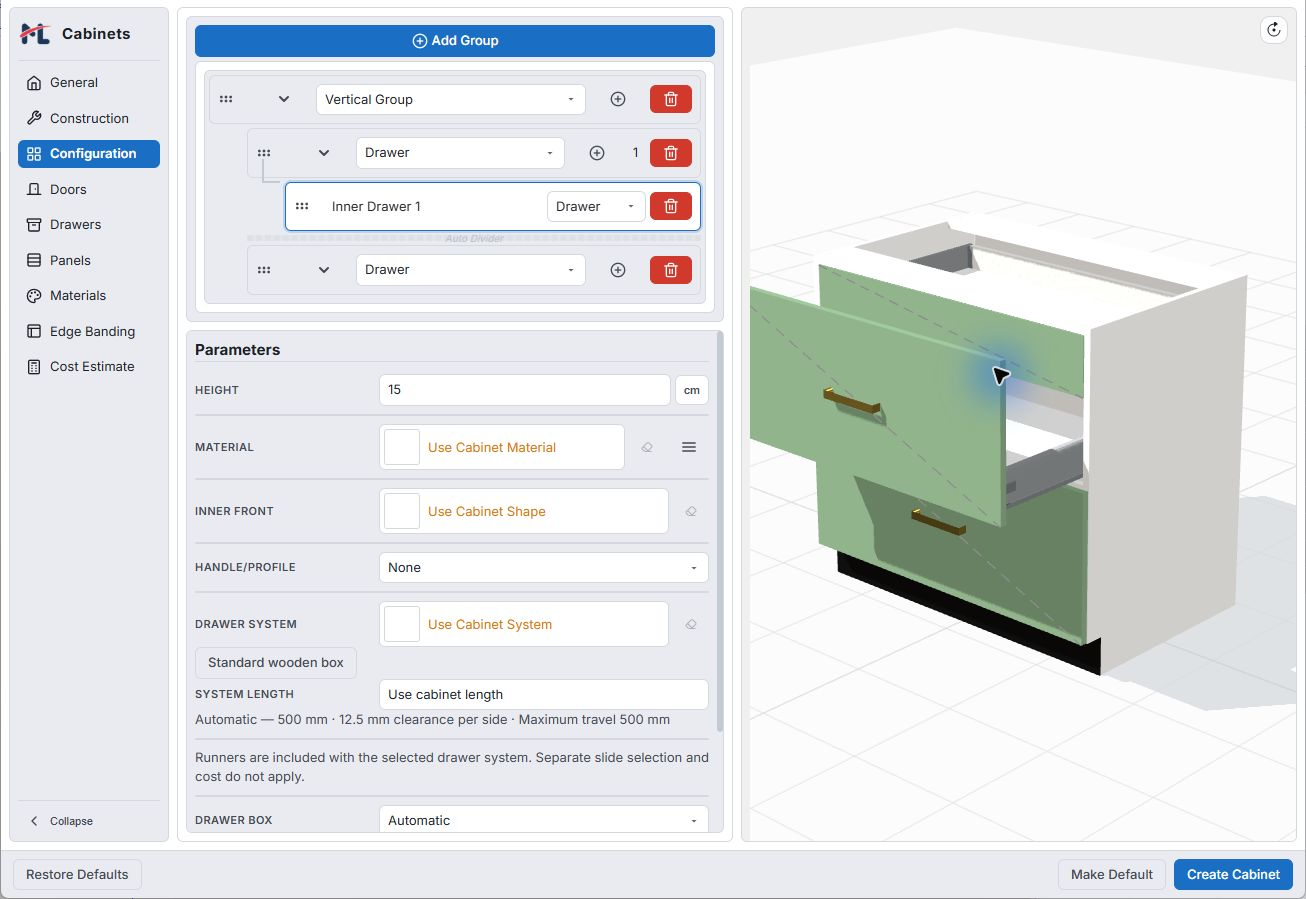
Select individual items to adjust their parameters. Set equal or custom shelf spacing, configure an inner drawer and choose opening mechanisms or drawer systems to suit the cabinet. Use Open / Close to explore supported openings in SketchUp.
 Enlarge
Bring the design and the offer together.
Use the Schedule Manager to organise cabinet information and review project costs. Complete any missing rates before relying on an estimate. Quotations and invoices use customer selling prices separately from internal costs.
For photorealistic presentation, use your preferred rendering workflow. ML Cabinets creates editable cabinet geometry; it does not produce photorealistic renders itself.